Difference between revisions of "Live 2022.11.15"
From kunz
Views
Actions
Namespaces
Variants
Tools
(→Part 2) |
|||
| (14 intermediate revisions by the same user not shown) | |||
| Line 2: | Line 2: | ||
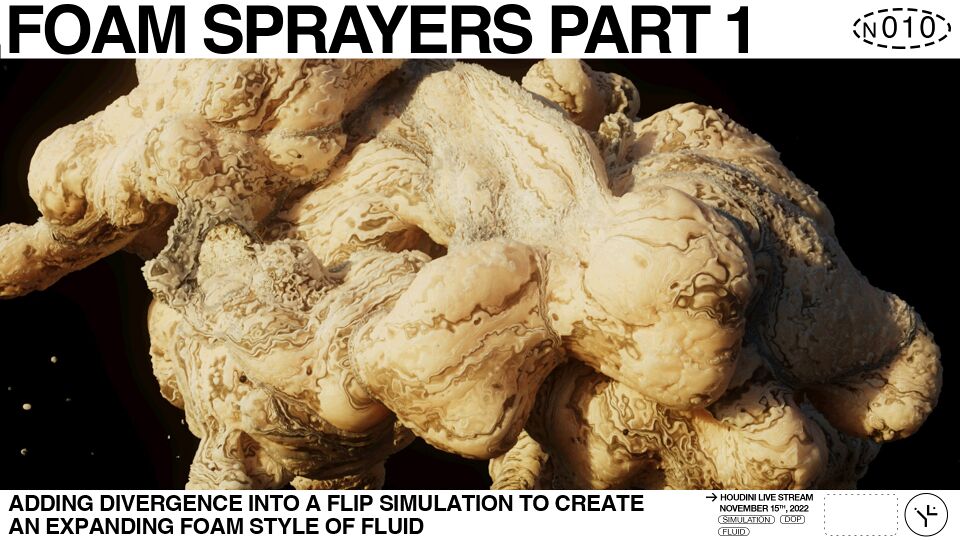
[[File:content_thumbnail_2022_11_15.jpg | 960px]] | [[File:content_thumbnail_2022_11_15.jpg | 960px]] | ||
== Introduction == | == Introduction == | ||
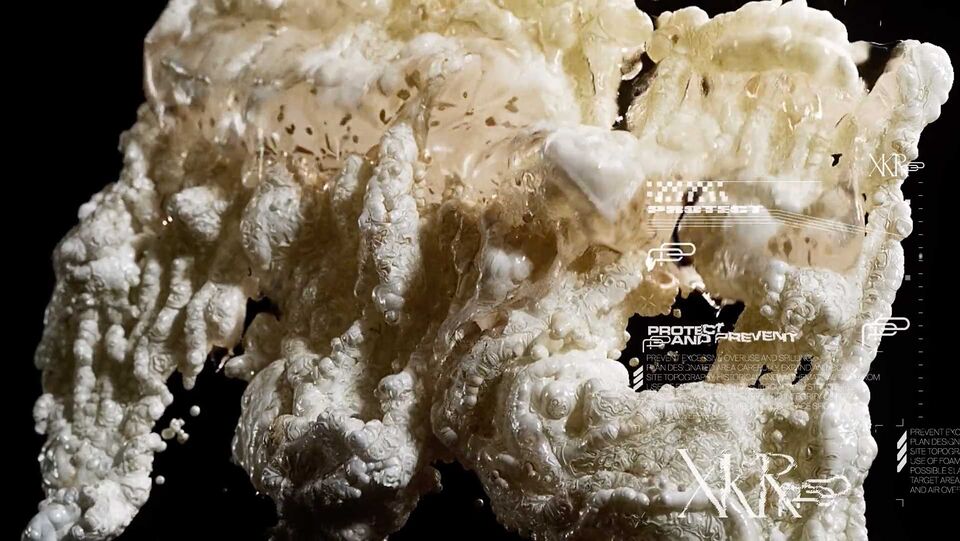
This was my attempt trying to recreate the foam techniques from [https://xk.studio/XKR_002-PROTECT the amazing PROTECT project from XK Studio]. Shown below is one of the frames from their project that I used as reference. | |||
[[File:2022_11_15_XK-Studio-XKR_002-Protect3.jpeg | 960px]] | |||
For more insight in to their process and development, take a look at their video here: [https://twitter.com/xk_studio/status/1575807058355445760/video/1 XK Studio BTS] | |||
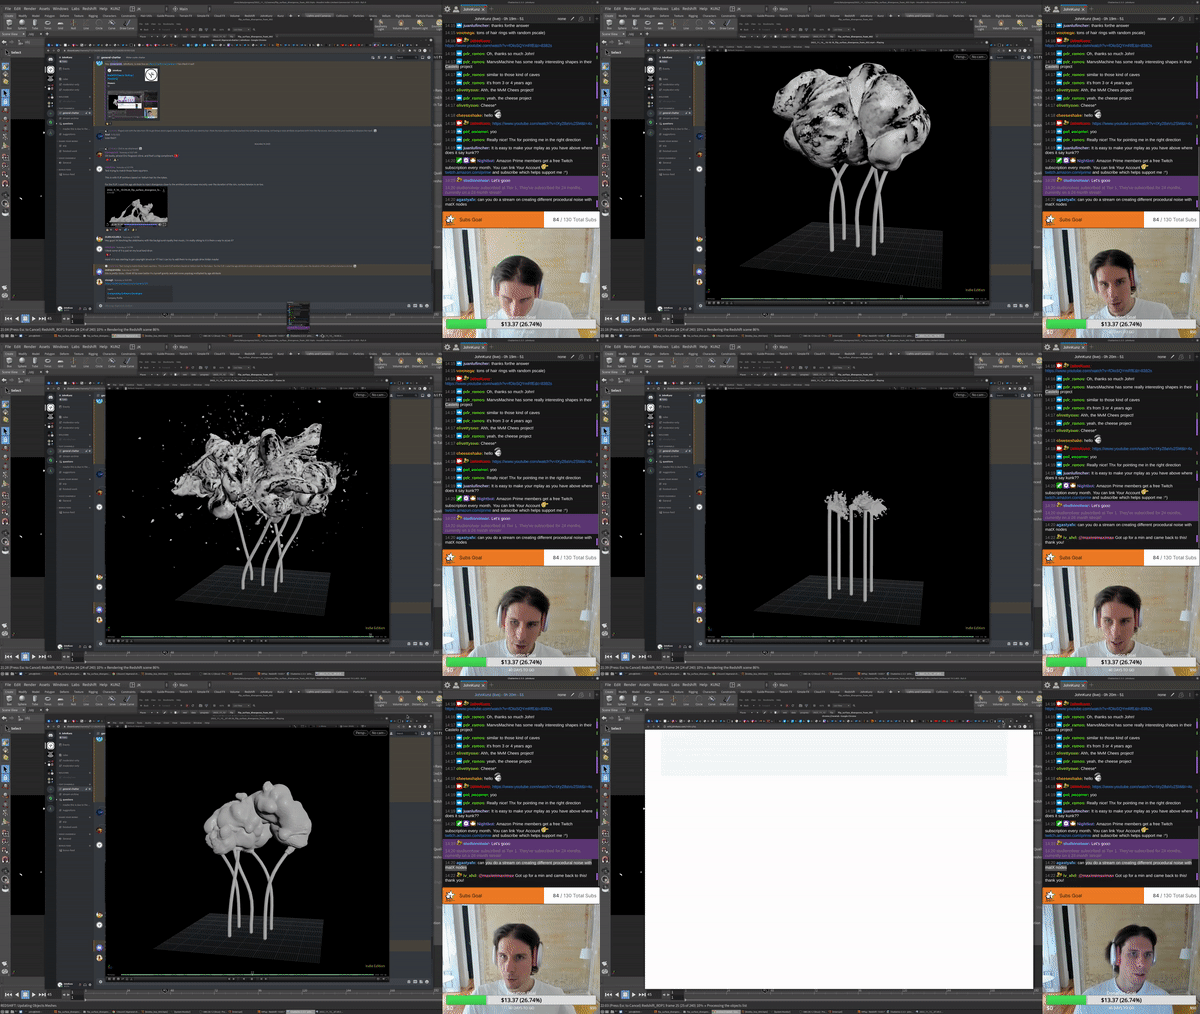
Below | Below are some of my results while testing and iterating on simulation settings. | ||
[[File: | [[File:2022_11_15_foam_settings_flbk.gif| 960px]] | ||
= Video On Demand = | |||
== Part 1 == | |||
<embedvideo service="youtube" dimensions="960x540" urlargs="modestbranding=1&showinfo=0">https://youtu.be/Zd1PIjUXyhU</embedvideo> | |||
* 00:00 Introduction | |||
* 00:50 Flipbook iterations | |||
* 06:10 Scene walkthrough | |||
* 06:30 Vellum wire simulation setup | |||
* 09:50 Setting up the FLIP emission source | |||
* 12:33 Initial velocity for FLIP emission | |||
* 14:10 Procedural noise from rest coordinates | |||
* 15:28 FLIP simulation overview | |||
* 15:50 VEX wrangle to control divergence | |||
* 18:50 Surface tension settings | |||
* 20:35 Post simulation workflow | |||
* 23:10 Visualize shader noise from rest attribute | |||
* 39:10 Visualize age particle attribute | |||
* 44:18 Visualizing divergence in FLIP simulation | |||
* 51:00 Wrapping up and overview | |||
== | == Part 2 == | ||
< | <embedvideo service="youtube" dimensions="960x540" urlargs="modestbranding=1&showinfo=0">https://youtu.be/bmGEJe4bVe4</embedvideo> | ||
</ | |||
* 00:16 Introduction | |||
* 02:30 Adjusting Vellum bend stiffness | |||
* 02:40 Rotating emitters | |||
* 03:10 Increase Vellum substeps for inter-frame motion | |||
* 03:35 Update flipsource and rest assignment | |||
* 04:50 Flatten all surface VDBs into one | |||
* 06:58 Divergence and viscosity control using VEX | |||
* 12:15 Visualizing rest texture coordinates | |||
* 13:20 Using and age and life to find emission time | |||
* 15:50 How emission time is used to offset texture coordinates | |||
* 17:50 VEX calculation of particle emission time | |||
* 18:30 Using sin funtion with emission time | |||
* 25:00 Redshift procedural noise from the rest attribute | |||
* 28:30 Scaling and adjusting the noise | |||
* 29:00 Visualize the noise value | |||
* 32:45 Comparing noise results when rest attribute is used | |||
* 36:30 Using RS State VOP to retrieve the rest attribute | |||
* 38:40 Using color ramps with rest | |||
* 39:10 Visulaizing displacement quality wireframe | |||
* 43:00 Subsurface radius and color | |||
* 49:00 Detecting and removing droplets after the sim | |||
* 57:50 Customizing the Houdini menu | |||
* 59:00 Wrapping up | |||
= Scene File = | |||
== Part 1 == | |||
== | [[:File:22_11_15_foam_sprayers_pt1.hiplc | 22_11_15_foam_sprayers_pt1.hiplc]] | ||
== Part 2 == | |||
[[:File:22_11_20_foam_sprayers_pt2.hiplc | 22_11_20_foam_sprayers_pt2.hiplc]] | |||
= | |||
[[:File: | |||
Latest revision as of 23:25, 9 March 2024
Foam Sprayers
Introduction
This was my attempt trying to recreate the foam techniques from the amazing PROTECT project from XK Studio. Shown below is one of the frames from their project that I used as reference.
For more insight in to their process and development, take a look at their video here: XK Studio BTS
Below are some of my results while testing and iterating on simulation settings.
Video On Demand
Part 1
- 00:00 Introduction
- 00:50 Flipbook iterations
- 06:10 Scene walkthrough
- 06:30 Vellum wire simulation setup
- 09:50 Setting up the FLIP emission source
- 12:33 Initial velocity for FLIP emission
- 14:10 Procedural noise from rest coordinates
- 15:28 FLIP simulation overview
- 15:50 VEX wrangle to control divergence
- 18:50 Surface tension settings
- 20:35 Post simulation workflow
- 23:10 Visualize shader noise from rest attribute
- 39:10 Visualize age particle attribute
- 44:18 Visualizing divergence in FLIP simulation
- 51:00 Wrapping up and overview
Part 2
- 00:16 Introduction
- 02:30 Adjusting Vellum bend stiffness
- 02:40 Rotating emitters
- 03:10 Increase Vellum substeps for inter-frame motion
- 03:35 Update flipsource and rest assignment
- 04:50 Flatten all surface VDBs into one
- 06:58 Divergence and viscosity control using VEX
- 12:15 Visualizing rest texture coordinates
- 13:20 Using and age and life to find emission time
- 15:50 How emission time is used to offset texture coordinates
- 17:50 VEX calculation of particle emission time
- 18:30 Using sin funtion with emission time
- 25:00 Redshift procedural noise from the rest attribute
- 28:30 Scaling and adjusting the noise
- 29:00 Visualize the noise value
- 32:45 Comparing noise results when rest attribute is used
- 36:30 Using RS State VOP to retrieve the rest attribute
- 38:40 Using color ramps with rest
- 39:10 Visulaizing displacement quality wireframe
- 43:00 Subsurface radius and color
- 49:00 Detecting and removing droplets after the sim
- 57:50 Customizing the Houdini menu
- 59:00 Wrapping up
Scene File
Part 1
22_11_15_foam_sprayers_pt1.hiplc


